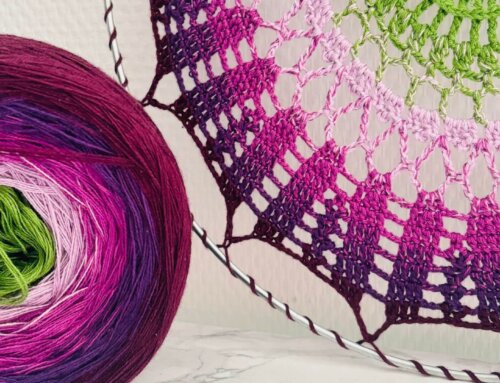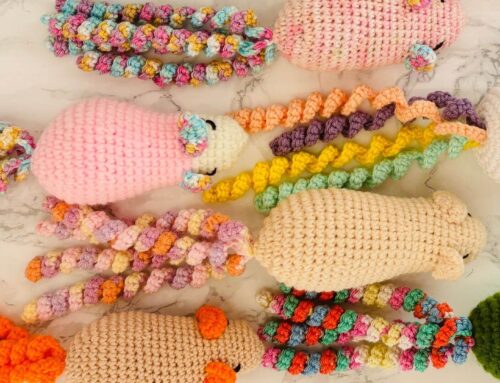
Mosaic crochet is currently a very popular technique widely used in interior decor. This technique is often applied to blankets, cushions, and wall hangings. But how does mosaic crochet actually work? In this blog, I explain the basic principles of mosaic-style crochet and how to read these patterns.
The Mosaic Technique
There is a lot of information available about the mosaic technique. If you speak English well, you will find many resources. But if English is not your strongest point, you may get stuck on the technical terms when reading patterns. The truth is that the mosaic technique is quite simple; it mainly consists of single crochets and double crochets, and you always work from right to left. Sounds easy, right?
Two Types of Techniques
When it comes to mosaic crochet, there are two techniques you can choose from. The most well-known at the moment is the overlay technique. The other method is the traditional mosaic technique, where you turn your work. This differs from the overlay method, where you always work from right to left and cut the yarn at the end of each row.
Overlay Technique
The name “overlay mosaic” already gives a hint about how it works — it creates a layer on top of the crochet fabric. In overlay mosaic crochet, you make rows of single crochets that are interrupted by double crochets worked into the row below. You change color every row and work only from right to left in one color. You also work only in the back loops, leaving the front loops open. Later, you fill these open loops with double crochets from two rows above, which creates an “overlay” effect.
Advantages of the overlay technique:
-
You can work quickly, row by row, with focus on the front of your project.
-
You only use the back and front loops, which makes it easier to fix mistakes by undoing part of a row.
Disadvantages:
-
Since you cut the yarn at the end of each row, there are loose ends on both sides of your project.
However, these ends can easily be hidden by using a double border. You create an envelope border, placing the loose ends inside before closing the edge. This way, you don’t have to weave in the ends — they are simply hidden within the closed border. Problem solved!
Traditional Mosaic Technique
The traditional mosaic technique differs from the overlay method. Here, you turn your work after each row and change color in the last stitch of the row. You crochet into both loops of your stitches and use a relief technique for the double crochets, placing them into the row below. This also creates an “overlay” effect.
Advantages of the traditional technique:
-
You don’t have to cut or weave in yarn.
-
You change colors at the edges, leaving the current color and picking up the new color as you continue.
Disadvantages:
-
The project can become bumpy due to the relief stitches.
Reading Mosaic Patterns
Reading mosaic patterns is quite easy once you understand them. At first glance, a mosaic chart may look confusing. If you use the overlay technique, you work the chart from right to left. Each row alternates between color A and color B. If you use more colors, color B is often replaced by another shade, while color A remains the base color.
A mosaic chart consists of squares:
-
An empty square represents a single crochet (SC).
-
A double crochet (DC) is marked with a symbol, often an “X” or a dot. This indicates where to place a double crochet into the front loop of the stitch two rows below. The color usually matches, making it easier to find the correct stitch.
What Else Can You Do with Mosaic Crochet?
There is so much you can create with the mosaic crochet technique! You can even change colors halfway through your project.