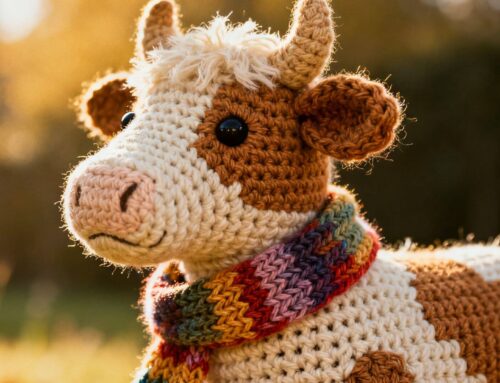
Are you done with all the blankets, handbags, and the like? Then start making amigurumi! Today I’m sharing 10 crochet tips for Amigurumi. Because there is nothing more difficult — believe me — than crocheting the perfect amigurumi. So keep reading, here we go!
If you’re wondering, “What is amigurumi?”, let me explain. The word amigurumi comes from Japan and means:
Amigurumi is the Japanese art of knitting or crocheting small stuffed yarn figures. The word is a combination of the Japanese words ami, meaning “crocheted or knitted,” and kurumi, literally “wrapped,” as in nuigurumi (“sewn stuffed doll”).
So, ami + nuigurumi = amigurumi; stuffed doll (or animal). Amigurumi is totally on trend right now — everyone is making them. Another fun Japanese style is kawaii. Kawaii refers to everyday objects made cute, like a plant with eyes or a basket with a smile. A milk carton with a funny face, and so on. I’ll write a post about that topic later. Today I’m sharing crochet tips for amigurumi.
Tip 1: Yarn and crochet hooks
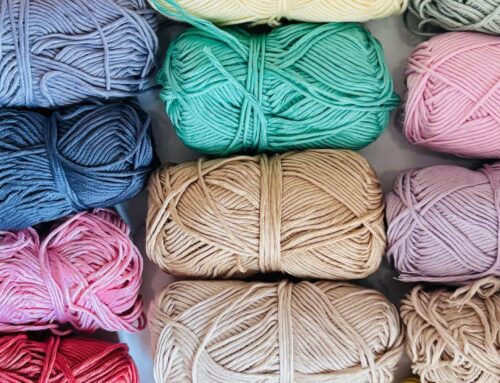
For making amigurumi, you can use any type of yarn and crochet hook. The most commonly used yarns for amigurumi are cotton yarns with small crochet hooks, such as Hobbii Rainbow Cotton 8/4 with a hook no larger than 2.5 mm. Most amigurumi are crocheted with a 2 mm hook or even smaller. I use hooks from 2 mm to 2.5 mm, depending on the size I want to achieve. The smaller the hook, the tighter and smaller the final result will be.
Tip 2: Yarn over or yarn under?
Amigurumi are known for their compact shape and cute details. Most designers and crocheters make amigurumi using the yarn-under technique. Why? It’s more compact, and the stuffing doesn’t show through. The yarn is packed more tightly together, which is ideal when making toys or plush animals. It also gives the animal or doll a more luxurious look because of the small “x” pattern created in each stitch.
In addition, using yarn under instead of yarn over reduces the height and weight of the finished product. For example: I crocheted the same doll twice — the first time using yarn under and the second time using yarn over. The second doll was 5 cm taller than the first. Same pattern, same hook, same yarn — only the technique was different.
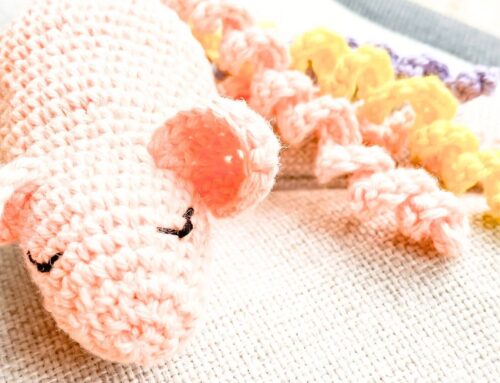
Tip 3: Safety eyes or embroidery?
Depending on what you’re making — and whether you want to sell the finished product — this is something to consider carefully. For children’s toys under age 3, I recommend embroidering the eyes on the finished item. Safety eyes are safe, but it depends on how you place them and whether it’s done correctly. If you want to be absolutely sure, embroider the eyes or crochet eyes that you can sew on. Always put safety first for your projects and finished products.
Tip 4: Different yarn; different result
Have you made a finished item? Try making it again with a different type of yarn and a different hook size. You’ll be amazed by the difference — and in a good way! Turn a cotton bumblebee into a big brother using fluffy yarn such as velvet and a 5 mm hook. Same bumblebee, different result. That’s what makes amigurumi so great. With just one pattern, you can explore endless possibilities.
Tip 5: Don’t overstuff
Do not overstuff your work, otherwise the yarn may show through the stitches. You want to stuff your project just enough to maintain the shape. If you overstuff, your doll or animal may look a bit odd. Stuff the item until you can no longer press in gaps from the outside and the indentation stays. Then it is filled enough for the crochet work to hold its shape.
Tip 6: The perfect “ball”
Have you ever noticed that if you always increase in the same place, you don’t get a perfectly round shape at the end? You end up with something like a beach ball with visible increase lines. To avoid this, do the following: start as usual with a magic ring and increase until you reach round 4. Instead of: 2 single crochets, increase × 6, do this: 1 single crochet, increase, 2 single crochets, increase, and finish with 1 single crochet to complete the round.
Round 5 is normal. Round 6: 2 single crochets, increase, (4 single crochets, increase) × 5, 2 single crochets. By placing the increase in a different spot in the round, you avoid that ugly line in your work.
Do the same when decreasing over multiple rounds. Place the decrease opposite the previous round and the line will never be visible.
Tip 7: Invisible decreases
The regular decrease is made by inserting your hook through both loops to make one stitch. If you pull too tightly, gaps will appear in your project. Stop doing that! Instead, use only the front loops when making a single crochet decrease. The back loops act as a “cover,” so no holes are visible in your work. This way the decrease is slightly hidden.
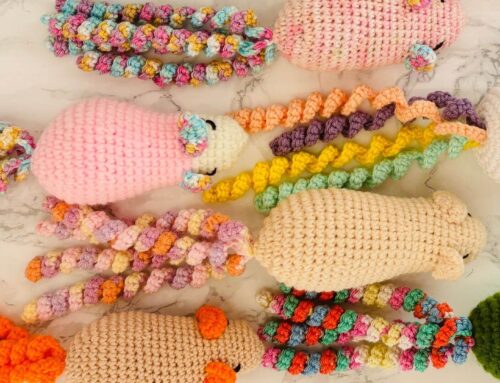
Tip 8: No sewing arms and legs
I hate sewing parts onto amigurumi — I admit it, haha. So what can you do? For example: make the arms first and attach them directly while working the stitches on the body. No sewing! For the hair: make a hair cap using only the back loops. When finished, attach the hair strands in the open front loops. No sewing! For the legs: finish the first leg, then join the second leg to the first with chain stitches. No sewing! Just try it — it saves time and frustration ;)
Tip 9: Weave in ends while crocheting
When working in the round, you can leave the ends inside the amigurumi. But what if you crochet something flat? Weaving in ends while crocheting is a great option. Simply make your stitches as usual while carrying the yarn tail along for a few stitches. Cut the end and you’re done. It saves time and frustration — because honestly, nobody likes weaving in ends!
Tip 10: Measure, measure, measure
Are you working on an amigurumi or doll with separate clothing or accessories? Measure while you crochet! Why? Nothing is more frustrating than making a shirt for a doll that doesn’t fit in the end. So measure between rounds to make sure you’re still on track. Always use a hook that is larger than the finished base project of the doll, animal, etc. Especially when making sleeves, pants, jackets, and more — you want them to fit the doll.
Hopefully these tips help you create adorable amigurumi. If you’re looking for a kickstart, check out the Doll Value Packages. This will give you a head start on making dolls and other amigurumi. Questions? Let me know in the comments. I’m happy to help! :)